The Correct Way To
Resurface A Concrete Floor
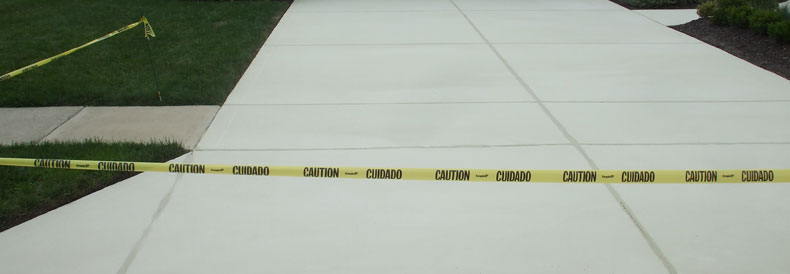
Has your concrete floor seen better days? Cracks, gouges, and stains can put a massive damped on the curb appeal and even the performance of your concrete flooring system. Where the adverse effects of aged and working-class concrete can have you scrambling for your local concrete contractor to plan the replacement of the entire slab, we think you should hold off until you read about a time and money-saving process known as concrete resurfacing. We get it, not many people are knowledgeable in working with concrete and that is why today, we are going to be going through the entire process of concrete resurfacing and outline the correct way to turn your concrete from drab to fab! So, let’s point you in the right direction!
Step One: Cleaning The Slab
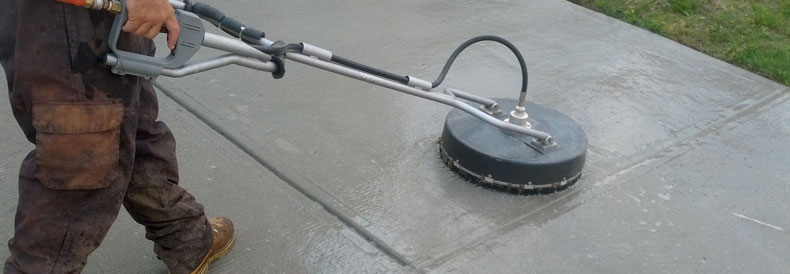
No matter how you look at it, the beginning of this process is to properly clean your concrete slab to make sure your application process goes smoothly and that your resurfaced concrete stands the test of time. Thankfully, properly cleaning your concrete slab isn’t as hard as many people make it out to be. The best way to clean any slab is to use a high-pressure pressure washer, preferably at least 3500 PSI. This will make sure that all of the dirt and grime is removed from the pores of the concrete. Make sure to get into the cracks as well! Pressure washing can eliminate all of the loose material and other debris that can be lingering in the crack, making sure that the repair lasts as long as possible. Concrete resurfacing is not a plug and play solution, make sure your concrete slab is as clean as possible and never wait days after you clean to apply the material, preferably install the same day.
Step Two: Applying Your Resurfacer
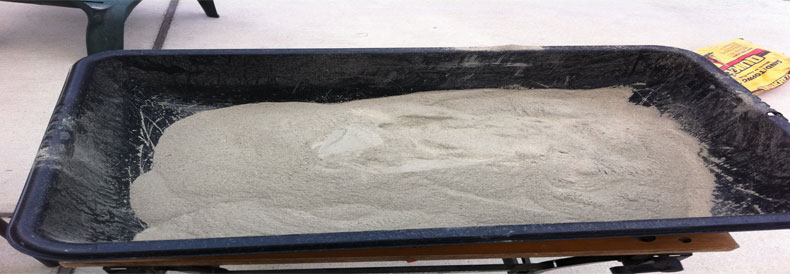
When you are positive that your concrete is as clean as possible, read the instructions on mixing your materials and have the tools you need to get the job done, it’s time to get started on resurfacing your concrete slab. The tools you will need to properly install your concrete is a squeegee, concrete groover for your expansion joints, and depending on where your concrete is a concrete edger. Always make sure your material is the proper consistency as well, it will make a huge difference when actually applying the resurfacer. We have found that it is easier to use a squeegee than it is to use a trowel on your hands and knees. When it comes to trimming up your edges and expansion joints, it would be a good idea to have a pair of spiked shoes on hand to minimize the damage done to the fresh material that you already applied.
Step Three: Choosing Your Finish
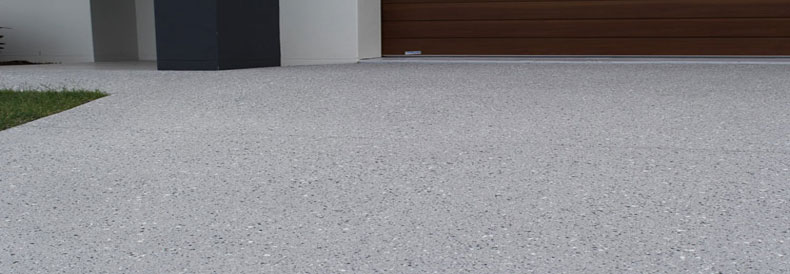
For some, the actual resurfacing agent is the perfect material and the only protection that they really need. So, to finish your resurfacing material, your options are limited if you want a uniform finish. You can use a finishing broom for a broom finish and depending on the material that you use, there may be pigments available to color your finish. But, for the users that need more protection than a thin layer of concrete, the best possible finish for your resurfaced concrete is by far epoxy flooring. Epoxy flooring offers amazing resistance to physical and chemical damage that will enhance the lifespan of your resurfaced concrete by decades. There are also options to use concrete overlays or stamped overlays to provide a more exotic or artistic finish for any taste.
Bottom Line
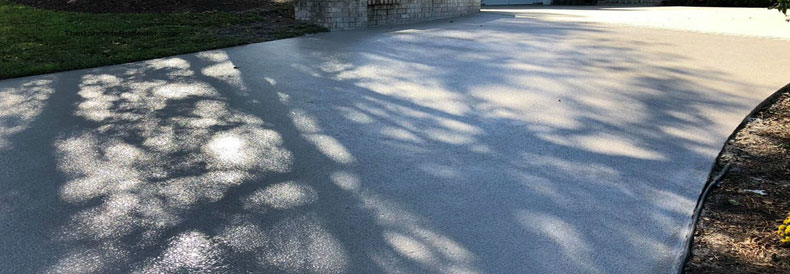
If you take to this guide for your next resurfacing project, you will be one the train to a more reliable and aesthetically pleasing concrete slab in no time! But, if you don’t feel like getting your hands dirty, don’t hesitate to call your local concrete contractor. Not only will they carry the load of the labor-intensive project, but they can also offer benefits like a warranty, faster installation times, and higher-grade materials that you can’t get without a license. But, no matter which path you decide to go down, we only offer you the best of luck on your concrete resurfacing project and those to come!
